Hello! In this tutorial, we’re going to paint rainbow hair in Procreate using brushes from my Freya Animal Hair Brush Set. You can also try this with the Freya Hair Detail No. 3 brush included in the Freebie Set!
✨ This artwork was inspired by this beautiful reel on Instagram.

Download the tutorial files — they include a swatch palette, reference image, and free brushes.
Go to your Files App → Downloads Folder, tap the zip file to unzip it, then tap on the .brushset and .swatches files. They’ll import automatically into Procreate. You’ll find the brushes in your Brush Library and the palette in your Color Panel.
Create a 3000 x 3000 px canvas with an RGB color profile for digital artwork.
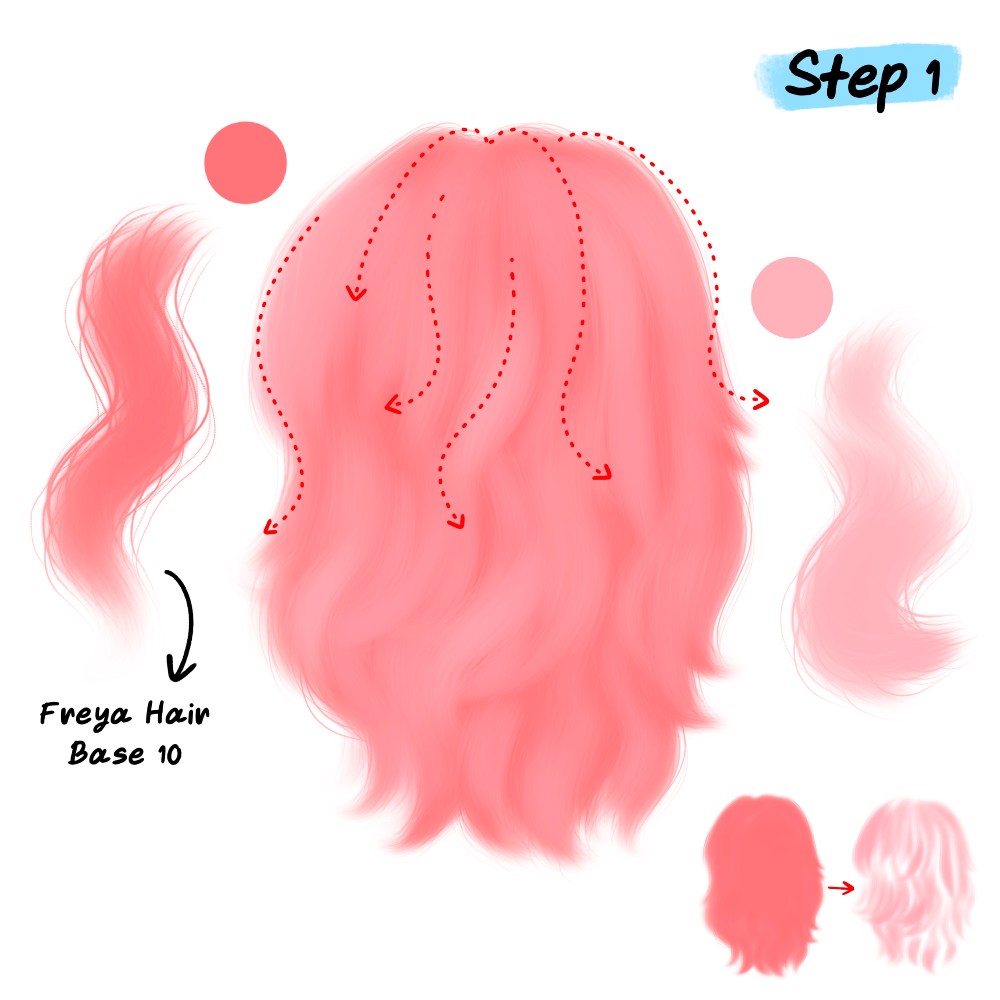
Using a Hair Base brush (I used Freya Hair Base No. 10), paint the base layer in pink. Follow the natural wavy hair flow, then use a lighter pink shade to build depth and direction. Keep your strokes soft and loose along the curves — this helps make the final hair look fluffy and natural.

Add a new layer above the base to bring in more color. Switch to Freya Hair Detail No. 3 and paint yellow tones for soft highlights. Follow the same flow and let some of the pink base show through to keep a smooth blend between colors.

It’s time to make the rainbow magic! 🌈
Go to Adjustments → Chromatic Aberration and select Displace mode. Drag your Apple Pencil up or down to adjust the effect direction until soft rainbow colors appear. You can also fine-tune the Blur and Transparency sliders to blend the effect with your base colors.
Then apply a bit of Bloom effect (around 7%) to add a soft glow.You’ll now see a colorful, dreamy rainbow shine! ✨
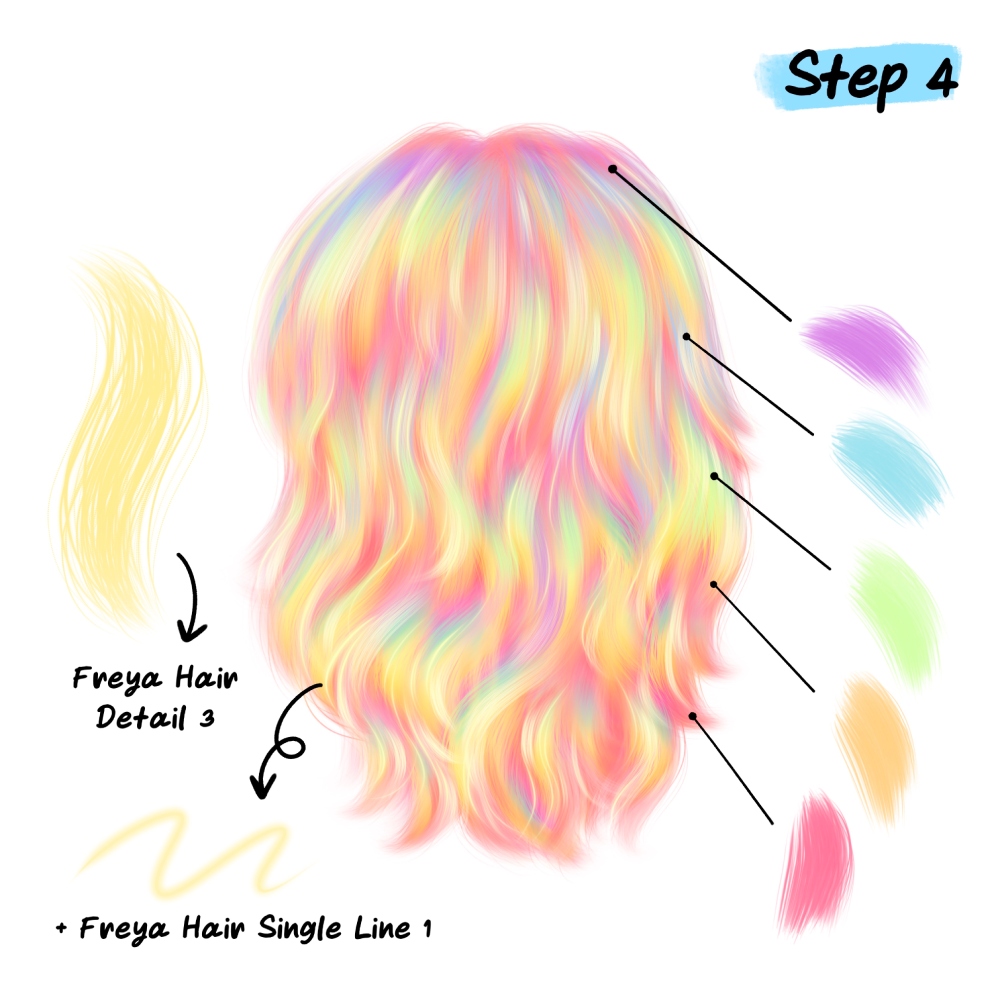
For the finishing touch, switch back to Freya Hair Detail No. 3 and lightly paint over different areas using purple, blue, green, yellow, and pink. This will enhance the rainbow strands and make the color variation stand out.
You can also use Freya Hair Single Line No. 1 to add a few thin highlight strands — this helps the hair texture pop even more.

And that’s it — your rainbow hair is complete! 🎨
If you enjoyed this tutorial, check out more of my Free Procreate Tutorials, or learn advanced hair-drawing techniques in the Portrait Academy course.

